
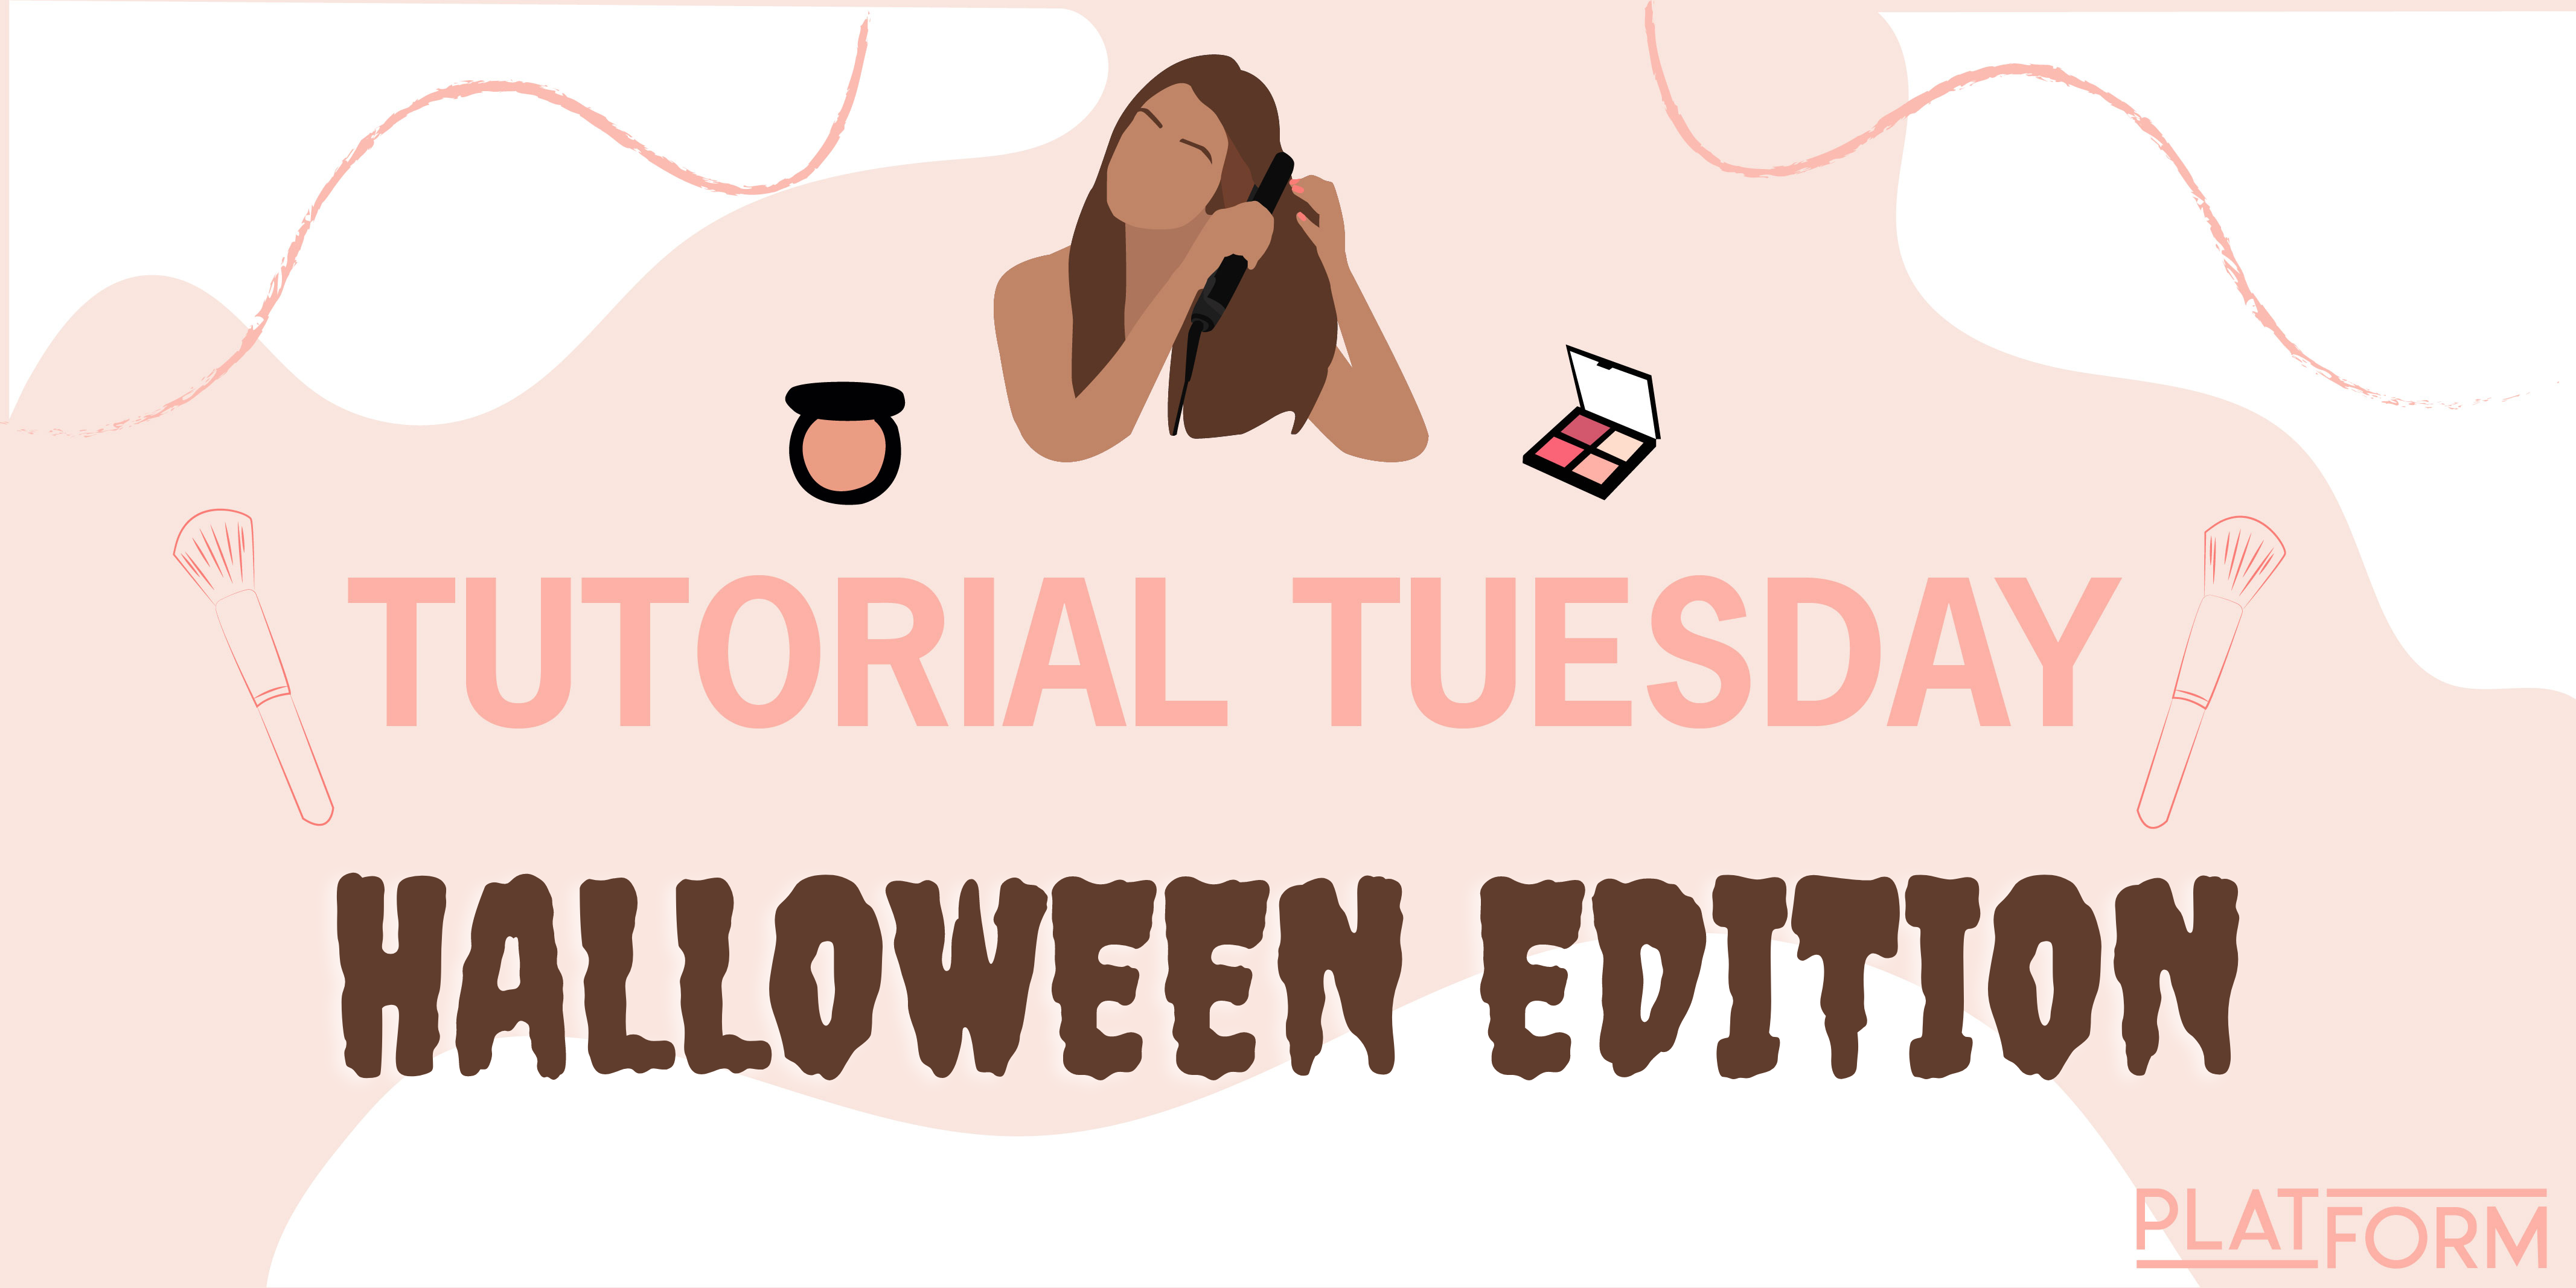
Can’t get a HANG of Halloween makeup this year ? BATting an eye at gruesome glams infecting your insta feed?
Whether you’re getting your zombie on for zoom or apple-bobbing within your bubble, this bat inspired makeup mashup allows for gruesome glamour in just a few steps.

With more time to kill at home, what better excuse is there to go bat-crazy on Corona and dust off the blue shadow for the pub…. even if it is all before 10pm.
Leave it to the liquid liner and turn tired eyes into wicked wings or get your full freak on and morph into the nights sky; this look is easily adaptable for how frightening your feeling yet is certainly glam enough for the gram.
It’s that time of year to adorn our faces with garishly gruesome shadows and chunky glitters so, allow your hair to bloom into branches and brows be beautifully bushy – this year especially we know weirder can happen, right? With your terror- toolkit at the ready, follow these spooky steps to unleash your inner bat being.
- Begin this look with a fresh face, optionally using primer to smooth skin and blur pores ready to lay on your favourite foundation and concealer. You want a clean canvas so colours can be as bold and intense as possible. We recommend L’Oréal True Match for its extensive shade range and slight shimmer that embodies the Halloween haunting.
- In this look, the eyes are the focus so are the best place to start. Using a black liquid liner, trace the outline of your bat wing on each eye with a cotton bud at the ready to clean up an wobbly lines- here we used the W7 liquid liner in black. Two great tips to get the ultimate precise, sharp shape are to firstly have a picture to reference as your drawing and secondly, to choose different bat wing shapes for each eye so your look is not only unique, but also saves you hours painfully trying to get both eyes symmetrical .


- Once you have perfected your wing, you simply want to fill it in. If you’re feeling fearless, you can add definition to the wing by using silver or gold eyeshadows to create highlights.
- Now you’re rocking that wing, it’s time to pull out purple or blue shadow (or any colour you crave). We recommend the Morphe palettes due to their rich pigments and extensive colour ranges that are affordable and long lasting. To create a bolder colour, you can wet your brush before hand and then apply the shadow which will not only intensify the pigment, but will also make the shadow easier to blend into the skin. Apply the colour wherever you want – we find it’s most effective to blend the shadow out from the edges of the wing, as if it the bat is gliding through the nights sky.
- To blend the blue shadow into the shape of your eye, drag the shadow beneath one eye and on top of the lid of the other eye as if the shadow is a liner. This allows for the two eyes to become one piece of art that work together rather then looking like they don’t belong on the same face.


- Now you have your basic shape and colour, it’s your opportunity to get as creative and crazy as desired with glitters, gems, shadows and liners. To allow the wings to stand out and be the vocal point of the work, we took a white liner and dragged this beneath each wing so there was a stark contrast between the jet black wings and nights sky shadow.
- At this point, you may be fearing that your eyes look too dark and are overpowered behind the liner and shadow however a great way to open up your eyes is to add a glitter or an irredentist shadow to your inner corner and blend this out onto the lid- Collection’s ‘Glam Crystals’ metallic liquid liner works perfectly for this. If you want to go all out, some gems that would work just as well and add another texture and dimension to your work- here, we’ve used a glitter liner to highlight the inner corner. Top this off with your chunkiest mascara so lashes are no longer lost; we find Rimmel’s ‘Scandaleyes Wow Wings’ mascara is perfect fit.


- This next stage can seem daunting, but it transforms and elevates the look – so remove that headband and whip out the hair gel. Take the strands of hair that frame your face and coat each in hair gel, varying the strands in thickness so they are as branch like as possible. For this we recommend the Mark Hill ‘invisible taming polish’ but any hair gel should do the trick. There is no right way of doing this so play around with the placement of the strands across your face – it can be as messy and textured or as neat and uniform as you would like. The hair gel should mean the strands stick, however you can apply hairspray to each stand to ensure a firm hold.


- Once you’re happy with your branches, you can begin to add the ‘night’s sky’ elements. Here, we’ve used the same liquid liner to paint small bats and stars that circle the branches however you could add whatever spooky shapes you desire.


- To contrast the dark blue shadow we’ve already used and create definition between the branches, you can apply a lighter blue shadow or even white to allow a glow from behind the branches and illuminate the face a little so we can appreciate all the hard work that’s gone into our bat wing liner and allow it to take centre stage. This can be applied with a wet brush or your fingers.


- Onto the lips, which will join the multiple elements of the look together. To continue the spooky mood, apply a dark brown lipstick or any dark colour of your choice and then using the same liquid eyeliner, accentuate your Cupid’s bow by drawing a thin point above the lip line where your lips naturally curve. Whilst you have the liner in hand, you can brush it through your brows to make them more bushy and batty.


- Now for final touches! At this point the look was lacking some glitter and glow, so using a liquid glitter liner, we drew some small stars onto the blue shadow which brought the glamour we were missing. Feel free to take a look at your own creation and add any small details and finishing touches you fancy!
- To lock everything in and avoid smudging your incredible hard work, spray your face with a setting spray such as Mac Fix Plus so you can party the night away.


With that you’re ready to go out with your spookily incredible makeup.
Be sure to send use your pictures when you recreate the look at home!
All makeup, photographs and words by Eleanor Ephgrave